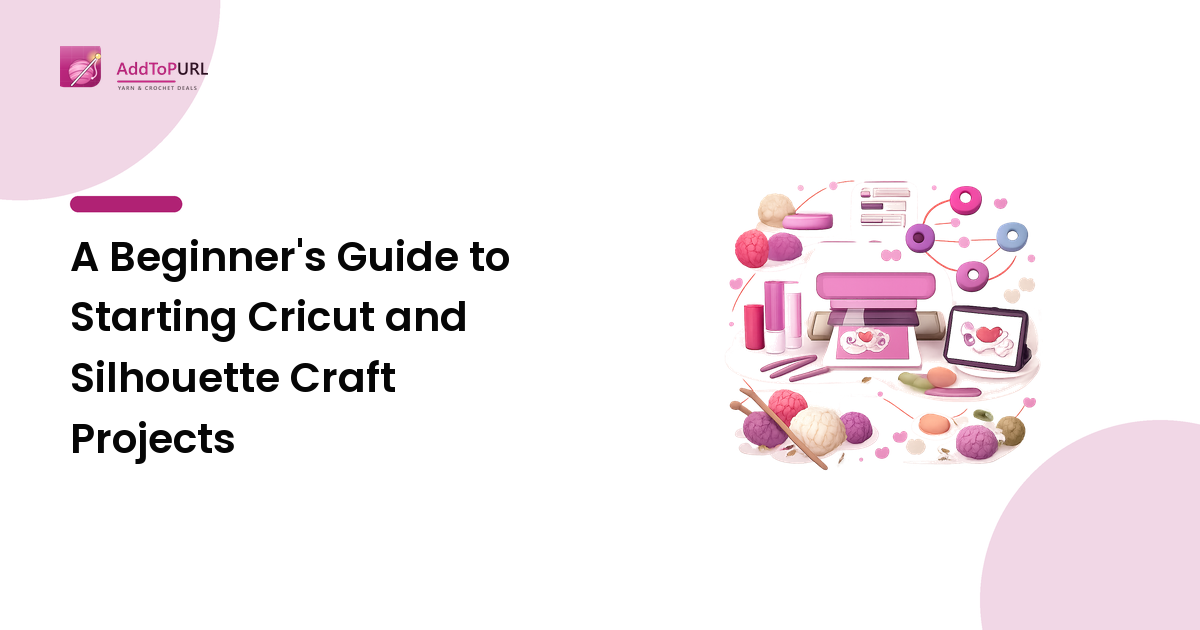
If you already knit or crochet, you have most of the mindset a cutting machine asks for: patience, a tolerance for fiddly steps, and a love of finishing touches. A Cricut or Silhouette machine is simply another tool for making the small extras that dress up your handmade work — a stitched-name label for a baby blanket, a gift tag for a finished shawl, a vinyl decal for a project bag, or a set of coordinating stickers for your pattern binder. This guide walks a first-timer through what the machine actually does, how a project comes together, and where pre-made design files fit so you spend the evening crafting rather than wrestling with software.
What a cutting machine actually does
A hobby cutting machine is a small robot with a blade instead of a printer head. Instead of laying down ink, it drags a fine blade along a path you give it, cutting shapes from thin material — adhesive vinyl, iron-on (heat transfer) vinyl, cardstock, sticker paper, thin fabric, and more. The path comes from a digital file. The two beginner-friendly machine families are Cricut (which uses the Cricut Design Space app) and Silhouette (which uses Silhouette Studio). Both cut the same everyday materials; the main difference for a beginner is the software, and both accept the same universal file type described below.
The key idea: the machine only cuts as well as the file you feed it.
The file format that matters: SVG
The standard design file for cutting machines is an SVG — a Scalable Vector Graphic. "Vector" means the shape is stored as math (points and curves) rather than as a grid of pixels, so it stays crisp whether you cut it at two inches or twenty. That is exactly what a blade needs: a clean, scalable outline to follow.
You have three honest options for getting an SVG:
- Design your own in free software like Inkscape. Full control, but a real learning curve — expect a few frustrating evenings before your first clean cut.
- Use the shapes built into the app. Fine for basic circles and text, thin once you want anything decorative.
- Start from a ready-made SVG cut file. You download a file someone has already drawn and tested, drop it into Design Space or Studio, resize, and cut.
For a first project, the third route is the one that gets a finished object in your hands the same evening — which matters, because early wins are what keep a new craft from becoming a shelved gadget.
Your first project, step by step
Here is a complete beginner path using adhesive vinyl to make a labelled project bag or a decal for a notions tin — a genuinely useful first make for any yarn crafter.
- Pick the material. For a first go, use permanent or removable adhesive vinyl on a hard surface (a tin, mug, or laptop). Save iron-on vinyl for project two, once you have a heat source sorted.
- Load your design. Open your SVG in Design Space (Cricut) or Studio (Silhouette). Resize it to fit your surface — because it is a vector, it will not blur when you scale it.
- Cut. Place the vinyl on the machine's cutting mat, colour side up, and choose the matching material setting. The blade cuts the design without cutting through the backing.
- Weed. This is the crochet-frogging of the vinyl world: with a fine hook or weeding tool, you pick away the excess vinyl and leave only your design on the backing. Go slowly; good lighting helps enormously.
- Transfer and apply. Lay transfer tape over the weeded design, peel it up, position it on your surface, burnish it down, and remove the tape. Done.
That is the whole loop. Every fancier project — layered decals, iron-on tote designs, paper cards — is a variation on those five steps.
Where ready-made cut files save you time
The step that quietly eats the most time is not the cutting; it is producing a clean, cut-ready design in the first place. A file that looks fine on screen can have open paths, stray nodes, or overlapping layers that make the blade wander. This is why many crafters — especially those from yarn work who want the making, not the software — start from a tested library of files. CraftSVGs is one such source of ready-made SVG cut files aimed at Cricut and Silhouette users. The reason it suits this blog's audience is specific: the files are drawn as proper vectors and packaged for the common cutting apps, so a knitter who just wants a "handmade with love" label or a set of gift tags can go from download to finished object without first learning vector design. It is the same logic behind reaching for a well-made kit instead of sourcing every component separately.
If you are still deciding what to make — and how ambitious to be on attempt one — our guide to choosing patterns, kits, and first projects applies almost word for word here: match the project to your current patience level, not your aspirations.
A sensible first shopping list
- A beginner cutting machine (Cricut or Silhouette — pick by which app feels friendlier in demo videos).
- A roll of adhesive vinyl in one colour, plus transfer tape.
- A weeding tool (a spare crochet hook works in a pinch).
- One or two SVG cut files that match a project you will actually use.
Start with a single, small, useful object. A labelled project bag beats a half-finished wall decal every time.
FAQ
Do I need to know how to design to use a cutting machine? No. You need to know how to load a file, choose the right material setting, and weed patiently. Starting from ready-made SVG cut files lets you skip the design software entirely until you want to learn it.
What's the catch with downloading ready-made SVG files — is it safe? The honest catch is quality and licensing, not danger. An SVG is just a drawing file, but a poorly drawn one cuts badly, and some files are licensed for personal use only, not for selling finished goods. Before you rely on any library, including CraftSVGs, open one file, read the license terms, and do a test cut on scrap vinyl so you know the paths are clean and the usage rights fit your plan. Treat your first download as a test, not a commitment.
Can a cutting machine cut actual yarn or fabric for my projects? It can cut thin, stabilised fabric (backed with an iron-on stabiliser), which is handy for appliqué and bag panels, but it does not cut yarn or thick knitted fabric. Think of it as a companion for labels, tags, and trims — not a replacement for your needles or hooks.
Cricut or Silhouette for a complete beginner? Both cut the same materials from the same SVG files, so choose on software feel and budget rather than capability. Watch a few real project videos in each app; buy the one whose workflow you can picture yourself using on a tired evening.
Getting started
You do not need to master vector design to make something you are proud of this week. Pick one small project, gather a machine, a roll of vinyl, and a weeding tool, and choose a clean, ready-made file so your first cut is a win rather than a troubleshooting session. If that is the route you want, it is worth taking a few minutes to try CraftSVGs and see whether their cut-file library fits the kind of labels, tags, and project extras you have in mind — then do a single test cut before you build anything around it.